
Sampling and experimenting
One aspect of stitching off-piste that I enjoy is trying things out before committing to the final outcome. This has been a core element of this textiles project – with the added frisson that we had limited supplies of fabric, so experimenting need to be done frugally.
Having decided on the techniques I hoped to use I needed to find out whether they would be suitable with the materials to hand.
Piecing the Heddle Pattern
I described in my last post the process of designing the ‘heddle pattern’ using EQ8 quilt design software. Having that I would use long strips of the felted fabric I needed to decide how I would join them together. The nature of the fabric meant I didn’t need to worry about frayed edges, so this would not be a limitation.
I experimented with two different methods – using colours of fabric that were not going to feature in the final piece.

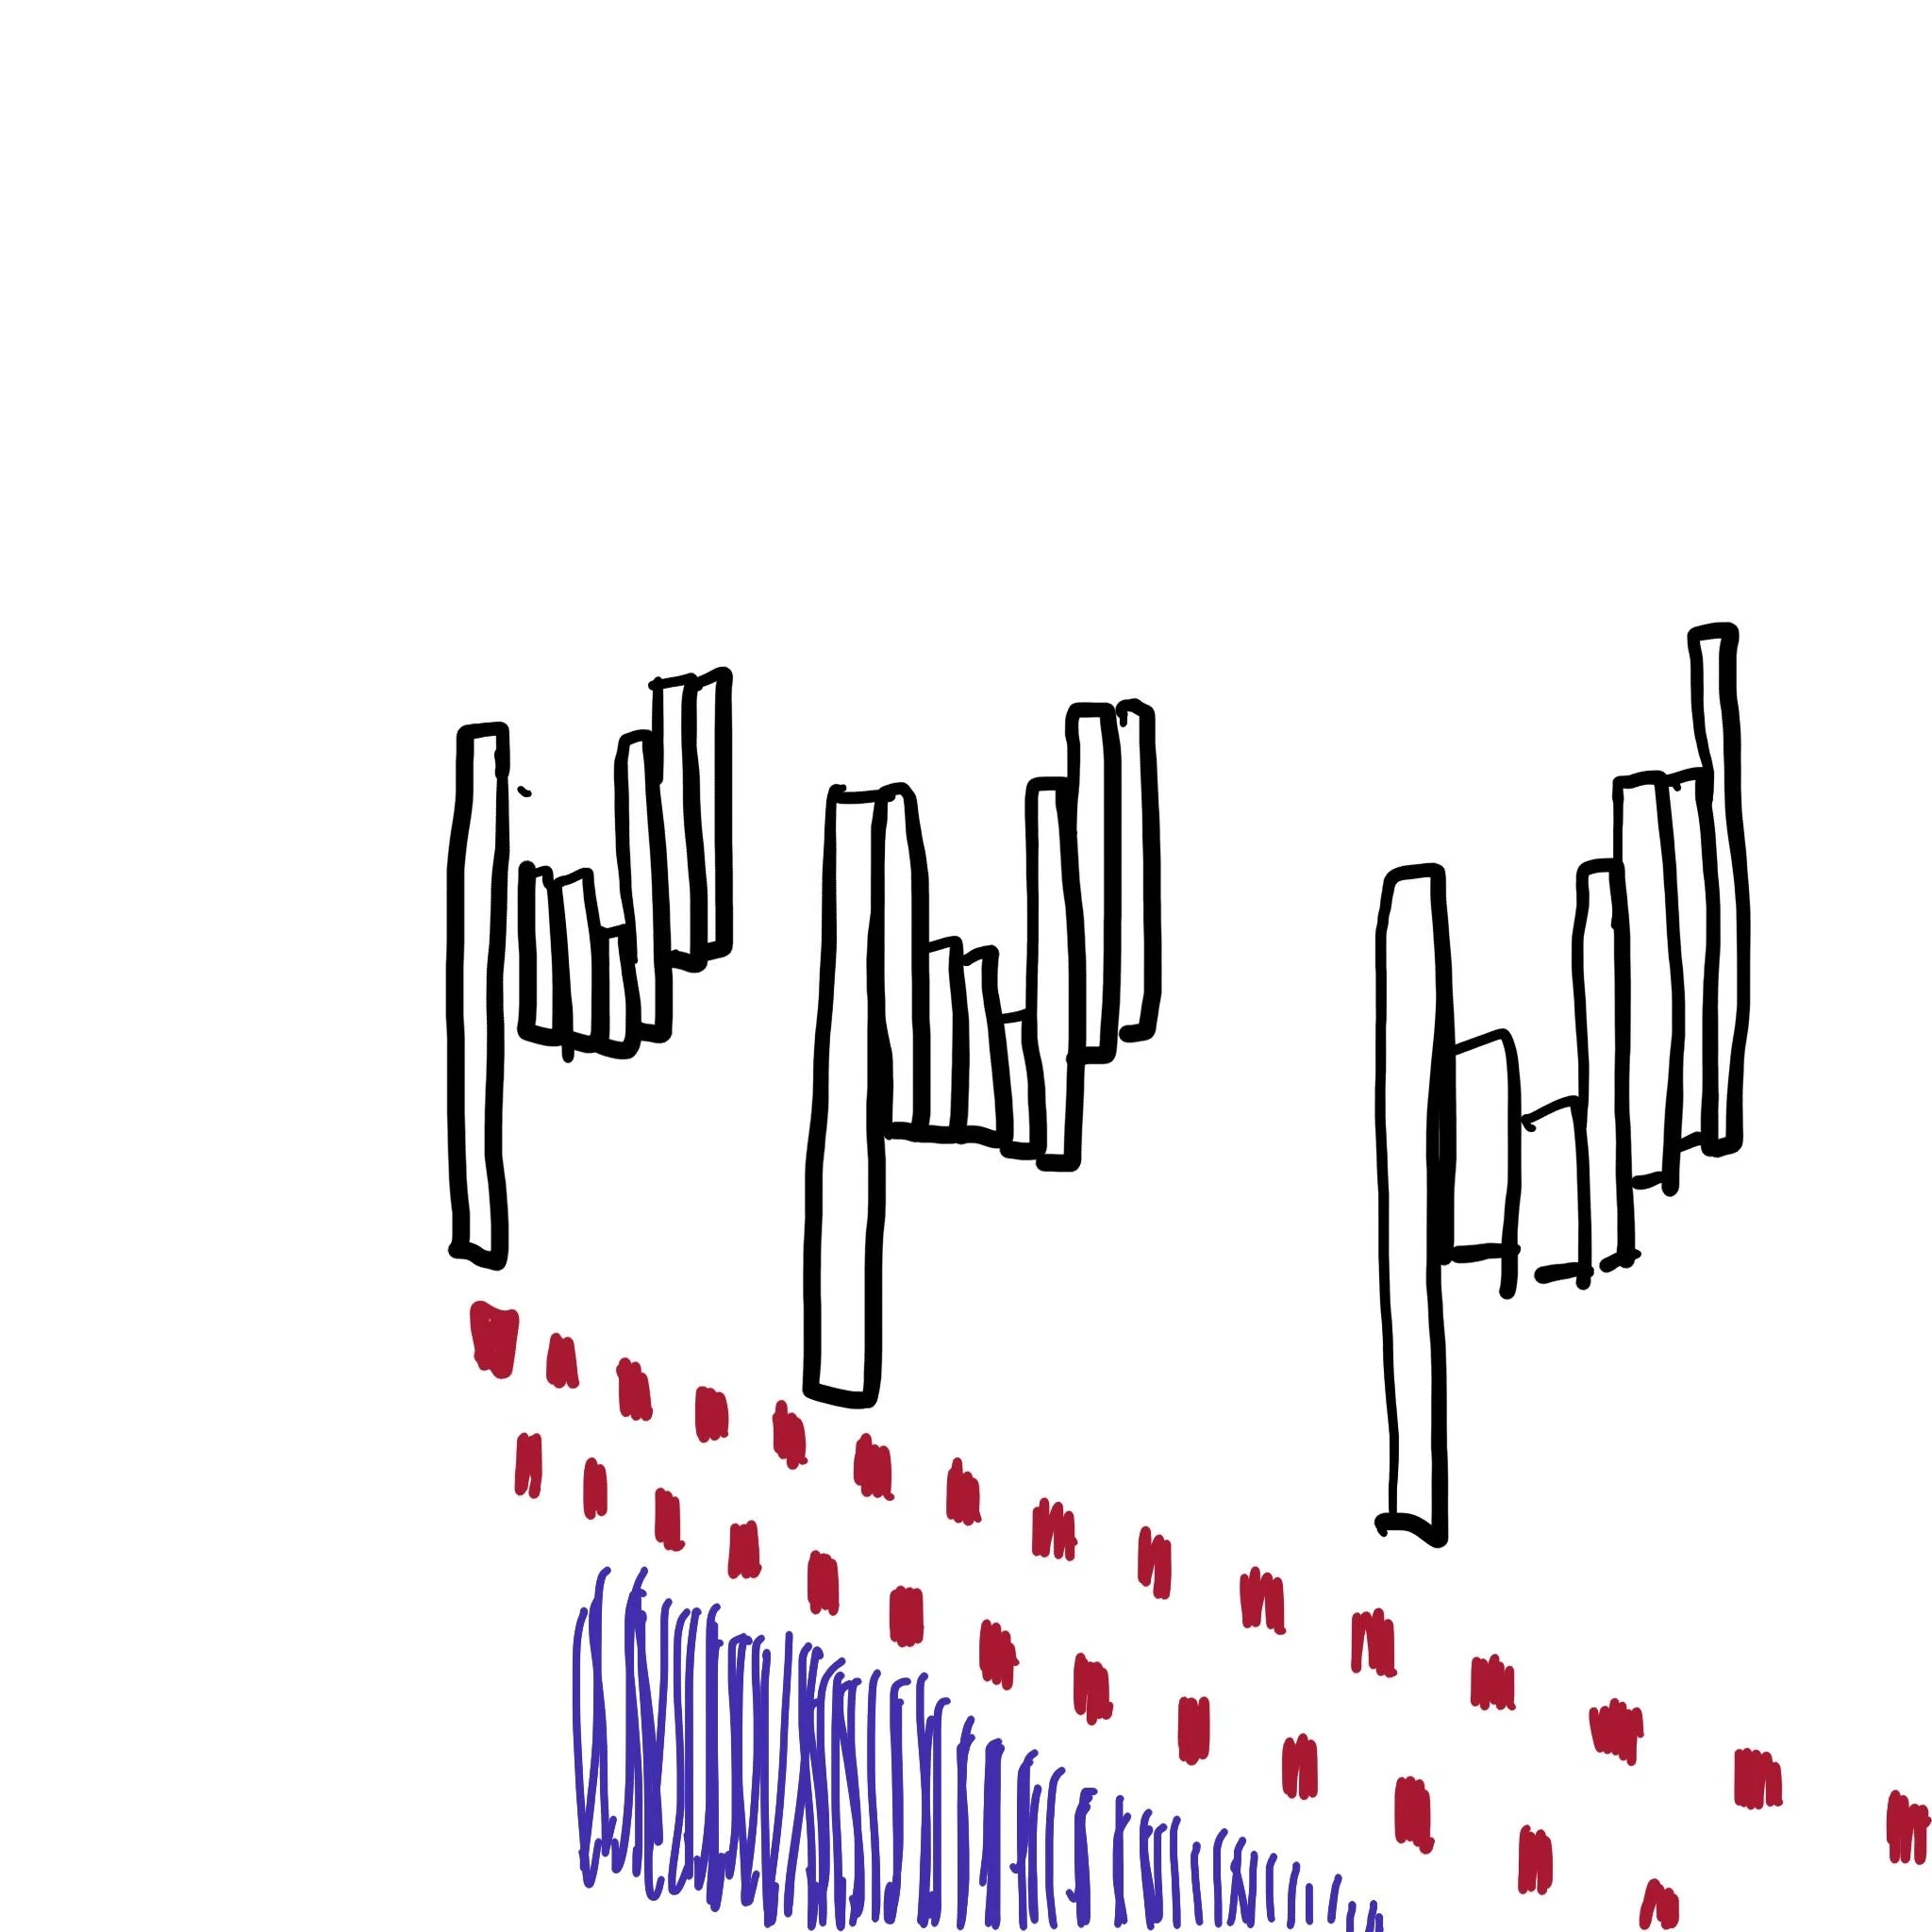
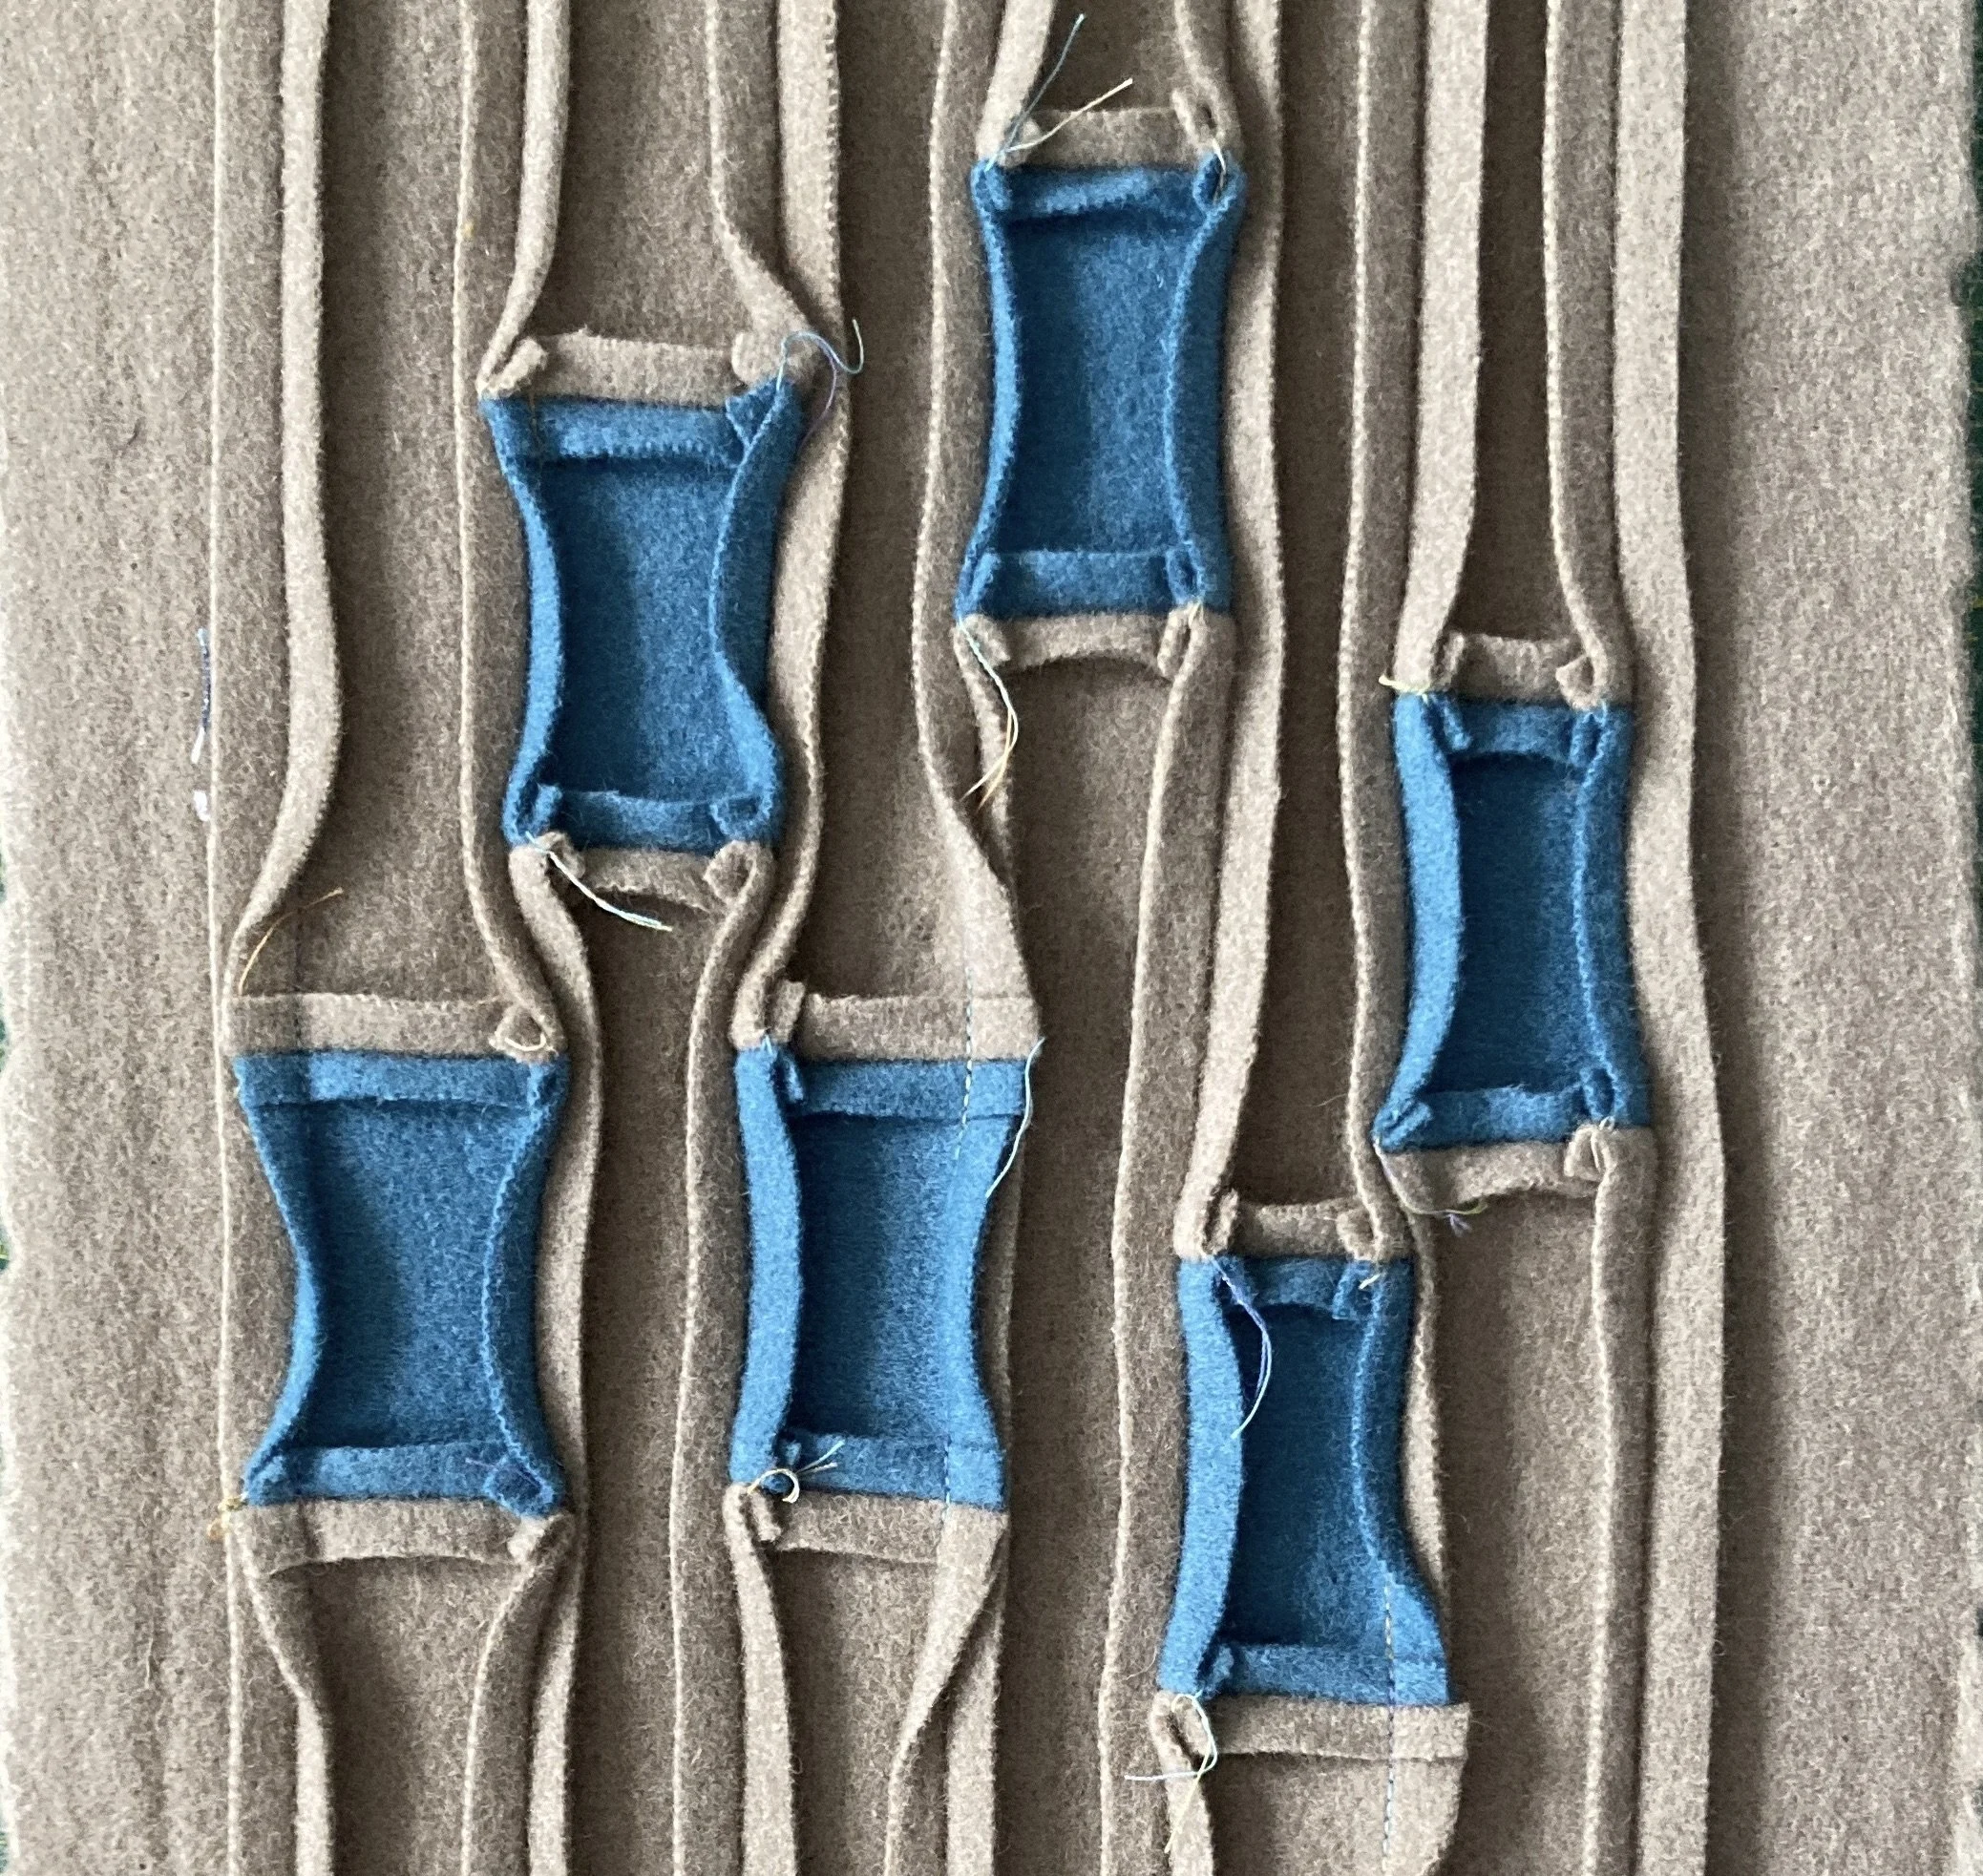
The first image shows the strips joined using the faggoting stitch on my machine. You can see that I also tried two different shades of thread for this. This produced a very flat piece of cloth, not very interesting. And because I stitched them all in the same direction, I ended up with a twisted piece too – a lesson learned and implemented later.
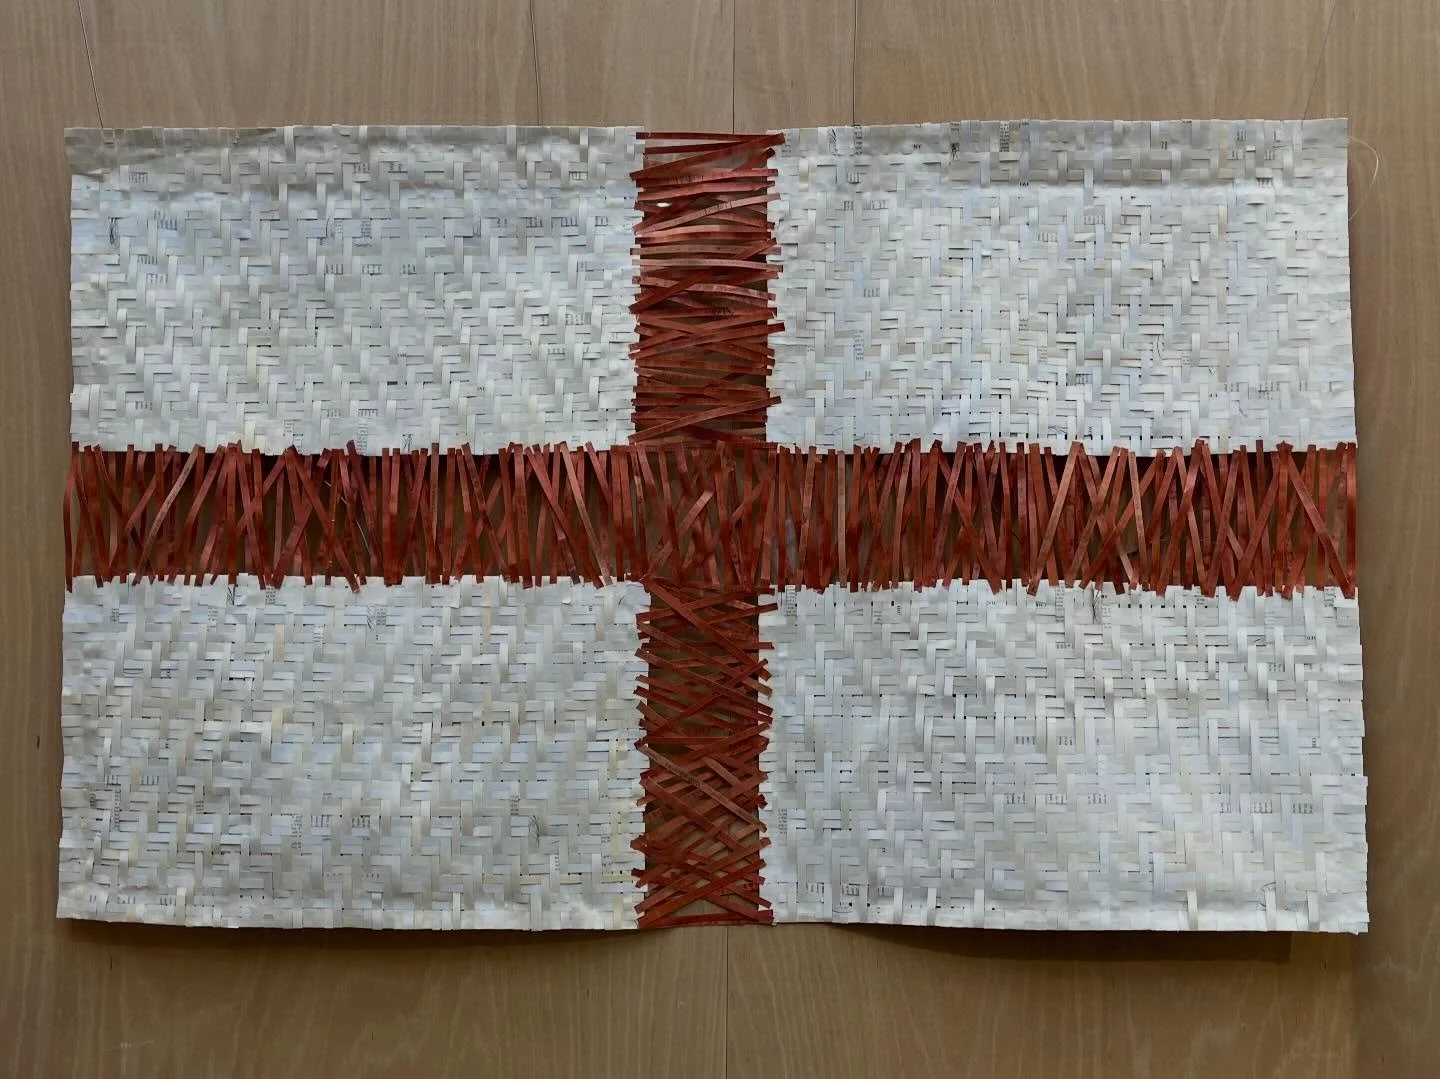
The second and third images show the strips joined with a ¼ inch seam in a conventional patchworking way, similar to the way the Kent Military Coverlet was joined, though I used the machine. I pressed the seams open, which gave a very textural effect on the reverse.
I much preferred the second technique and decided to follow through with this. However, before I went ahead with that, I needed to do one more sample – because for the coat I would be joining the felt strips to the blanket fabric which is not so heavily milled, and is bulkier.

This time I use three of the fabrics I intended to use in the final coat as it was important to know that the method would work with those fabrics. As the cream coat wool is quite thick I used the walking foot on my machine to help the thicker fabric travel through easily.
Having established the technique would work, I cut my precious fabric into strips and began to pin them on the design wall. It took a lot of iterations and stepping back to come to a final decision as to how to piece them. The placement of colours is such an important part of design, I learned much from exploring the work of Josef Albers last year (2013).

Here I was exploring the colours I thought I wanted based on my digital explorations. Once I had had the confidence to cut my fabric into strips, I was able to experiment much more. I liked the ‘pop’ given by the yellow squares – more interesting than the rust squares on the right here. It was only when I combined the rust and the yellow that it began to work.

The third of the versions in this second image is close, only needing narrow strips of yellow, because it is so bright, but the rust has its place too. I thought I had decided on this third layout, but as I began to stitch, I realised I preferred the consistency of making all the strips the same, placing the navy strips in the centre each time. I made all the strips without the blanket tops and bottoms, and again placing them on the design wall to find the best relationship between the vertical positions, to give a feeling of movement that I wanted.
I am pleased with the final arrangement; in a later post I will show it in place in The Coat.
References
Albers, J. (2013) Interaction of Color. 4th edn. Yale: Yale University Press.